携程Apollo(阿波罗)安装部署以及java整合 服务器部署 可以按照apollo wiki 进行部署https://github.com/ctripcorp/apollo/wiki/Quick-Start
安装 Java 环境 java
创建数据库 Apollo服务端共需要两个数据库:ApolloPortalDB和ApolloConfigDB,我们把数据库、表的创建和样例数据都分别准备了sql文件,只需要导入数据库即可。
下载安装包 https://github.com/nobodyiam/apollo-build-scripts
服务器部署 将快速部署包apollo-quick-start放进服务器
服务器配置 Apollo服务端需要知道如何连接到你前面创建的数据库,所以需要编辑demo.sh,修改ApolloPortalDB和ApolloConfigDB相关的数据库连接串信息。
1
2
3
4
5
6
7
8
9
#apollo config db info apollo_config_db_url= jdbc:mysql:/ / localhost:3306 / ApolloConfigDB?characterEncoding= utf8 apollo_config_db_username= 用户名 apollo_config_db_password= 密码(如果没有密码,留空即可) # apollo portal db info apollo_portal_db_url= jdbc:mysql:/ / localhost:3306 / ApolloPortalDB?characterEncoding= utf8 apollo_portal_db_username= 用户名 apollo_portal_db_password= 密码(如果没有密码,留空即可)
修改服务器端口地址信息
1
2
3
config_server_url=http://10.168.16.125:8080 admin_server_url=http://10.168.16.125:8090 portal_url=http://10.168.16.125:8070
如果部署在linux服务器上需要将地址改为服务器IP地址
确保端口未被占用 Quick Start脚本会在本地启动3个服务,分别使用8070, 8080, 8090端口,请确保这3个端口当前没有被使用。
例如,在Linux/Mac下,可以通过如下命令检查:
lsof -i:8080
执行启动脚本
./demo.sh start
当看到如下输出后,就说明启动成功了!
1
2
3
4
5
6
7
8
9
10
11
12
==== starting service ==== Service logging file is ./service/apollo-service.log Started [10768] Waiting for config service startup....... Config service started. You may visit http://localhost:8080 for service status now! Waiting for admin service startup.... Admin service started ==== starting portal ==== Portal logging file is ./portal/apollo-portal.log Started [10846] Waiting for portal startup...... Portal started. You can visit http://localhost:8070 now!
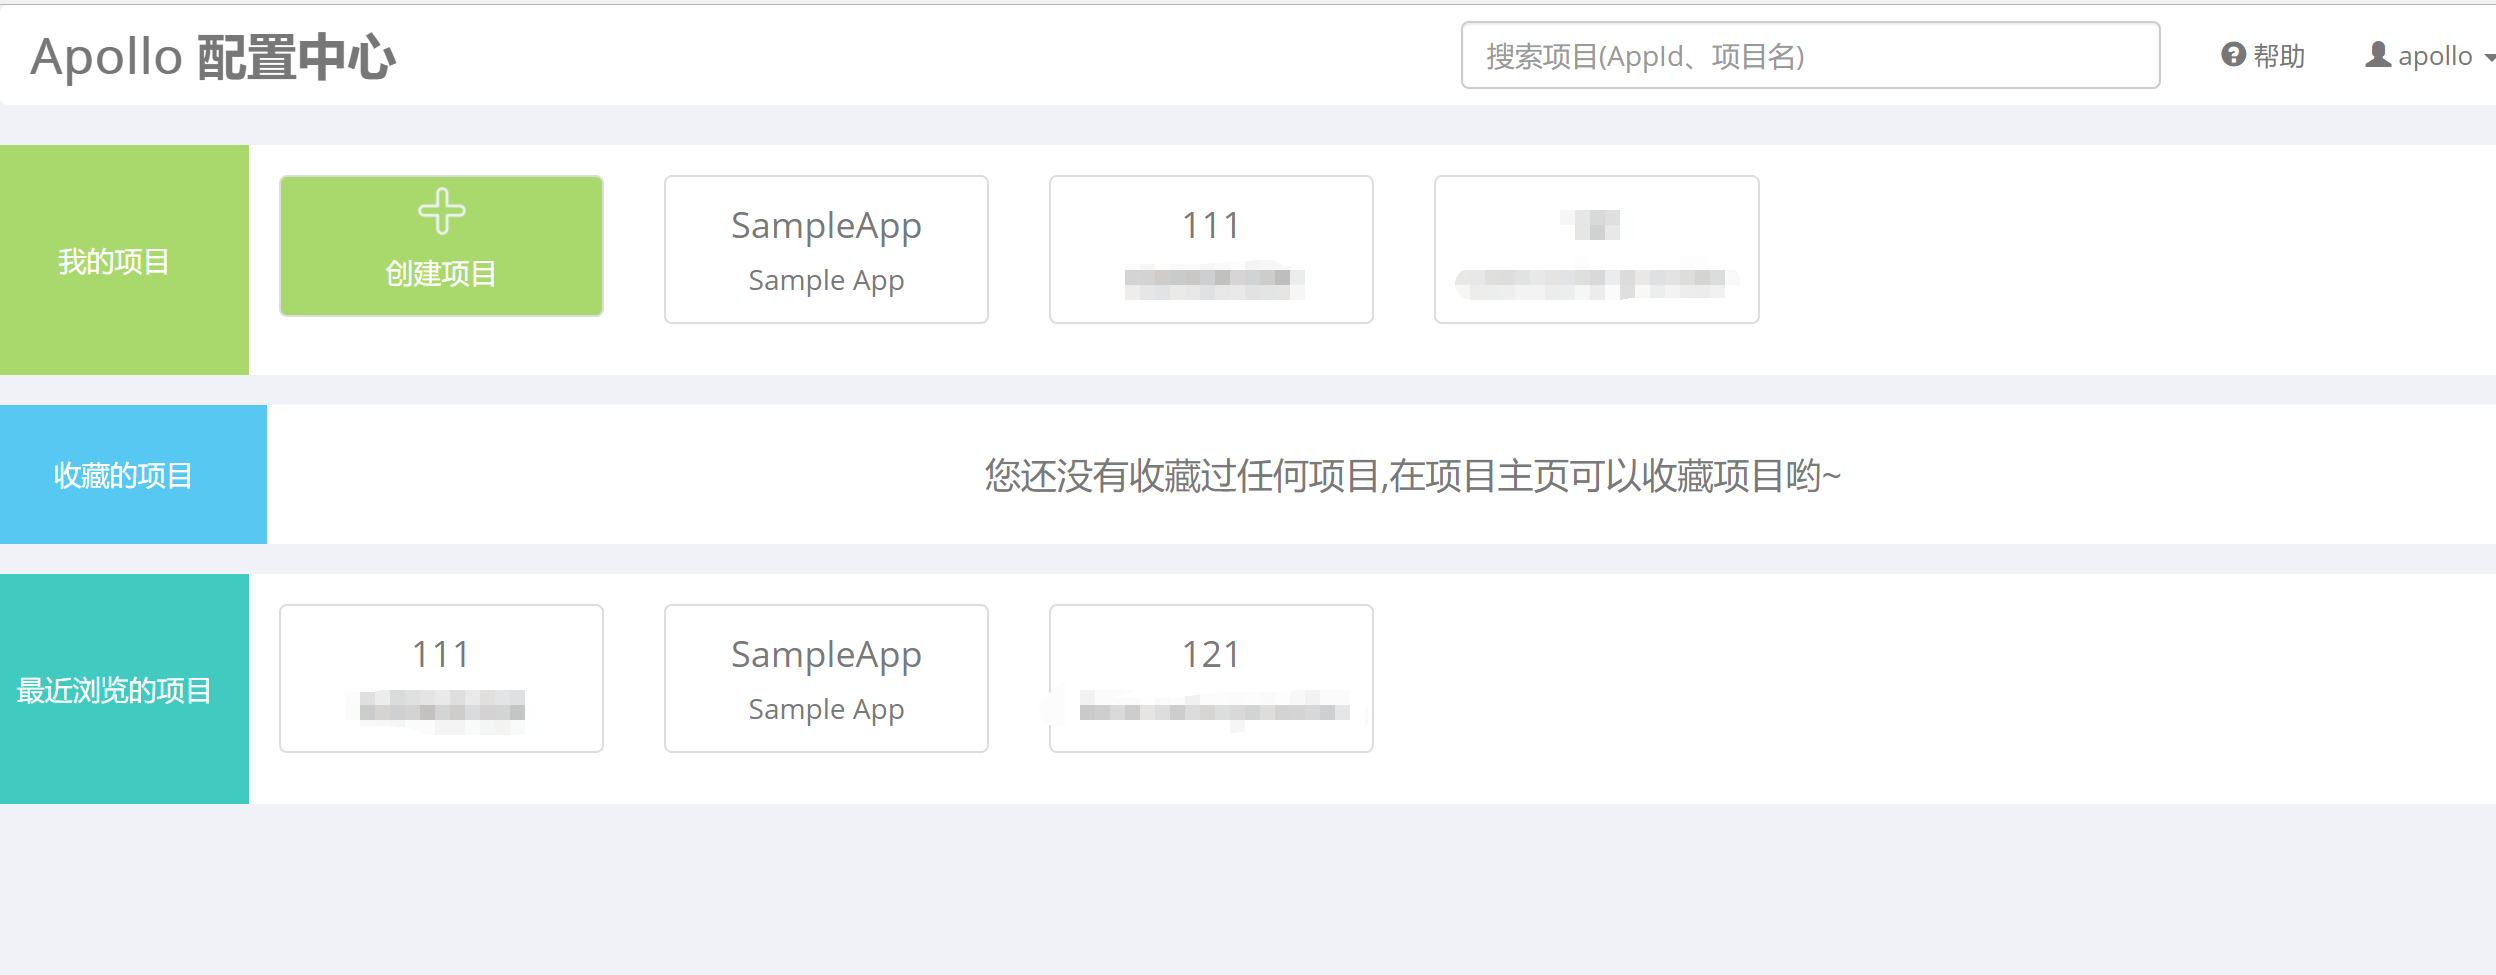
使用Apollo配置中心 访问 服务器的IP:8070 可以进行访问http://10.168.16.125:8070
可以创建自己的项目
添加namespace namespace 相当于配置文件名称
可以自己研究琢磨下
java服务整合 pom整合 官方提供的maven
1 2 3 4 5 <dependency > <groupId > com.ctrip.framework.apollo</groupId > <artifactId > apollo-client</artifactId > <version > 0.9.1</version > </dependency >
发现拉不下来jar包https://github.com/ctripcorp/apollo.git
1
2
3
4
5
<dependency> <groupId>com.ctrip.framework.apollo</groupId> <artifactId>apollo-client</artifactId> <version>0.10.0-SNAPSHOT</version> </dependency>
现有应用接入 在应用接入Apollo之后,这些配置是可以非常方便的迁移到Apollo的,具体步骤如下:
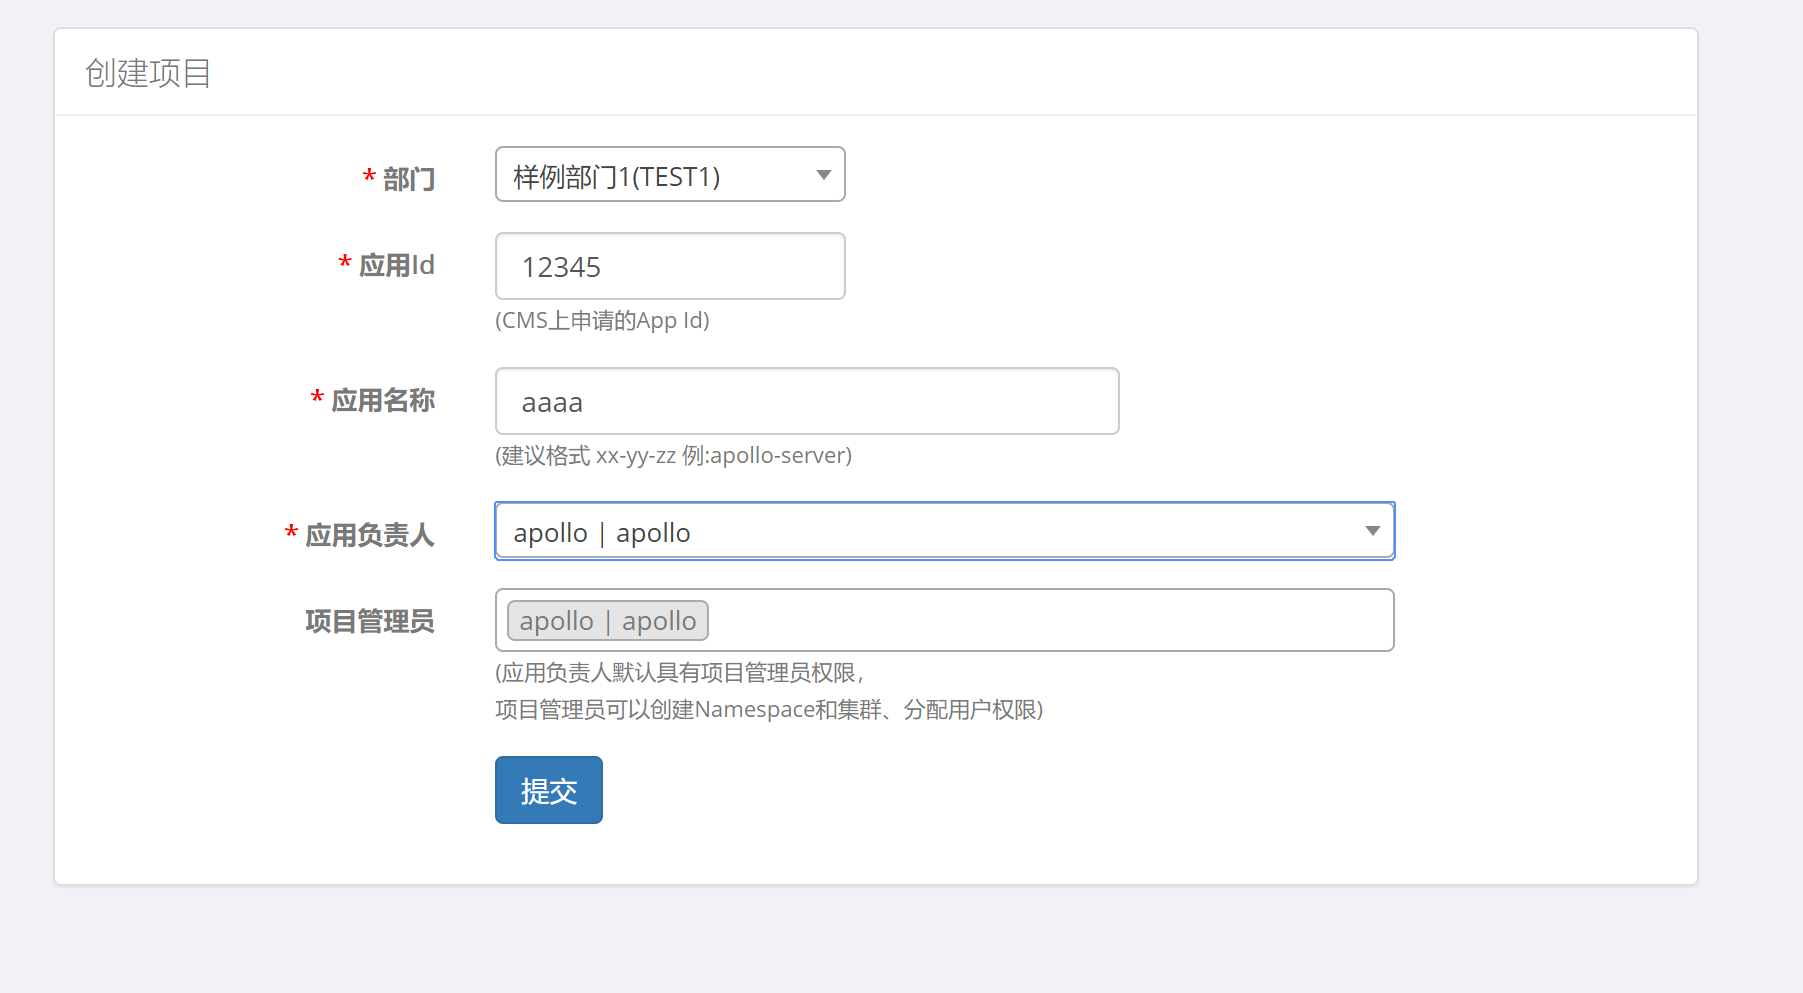
在Apollo为应用新建项目
app.properties 内容是创建项目的APPID(应用ID)如前面创建的12345
并在resources 下加入apollo-env.properties 各环境的服务器地址
1 2 3 4 5 6 local.meta=http://10.168.16.125:8080 dev.meta=http://10.168.16.125:8080 fat.meta=${fat_meta} uat.meta=${uat_meta} lpt.meta=${lpt_meta} pro.meta=${pro_meta}
修改环境 修改/opt/settings/server.properties(Mac/Linux)或C:\opt\settings\server.properties(Windows)文件,设置env为DEV:
Spring 整合 apollo启动配置 apollo加载namespace配置 1 <apollo:config namespaces="dubbo" order="1"/>
####官方配置如下
Apollo目前既支持比较传统的基于XML的配置,也支持目前比较流行的基于Java(推荐)的配置。
需要注意的是,如果之前有使用org.springframework.beans.factory.config.PropertyPlaceholderConfigurer的,请替换成org.springframework.context.support.PropertySourcesPlaceholderConfigurer。Spring 3.1以后就不建议使用PropertyPlaceholderConfigurer了,要改用PropertySourcesPlaceholderConfigurer。
基于XML的配置
1.注入默认namespace的配置到Spring中
1 2 3 4 5 6 7 8 9 10 11 12 13 <?xml version="1.0" encoding="UTF-8" ?> <beans xmlns ="http://www.springframework.org/schema/beans" xmlns:xsi ="http://www.w3.org/2001/XMLSchema-instance" xmlns:apollo ="http://www.ctrip.com/schema/apollo" xsi:schemaLocation ="http://www.springframework.org/schema/beans http://www.springframework.org/schema/beans/spring-beans.xsd http://www.ctrip.com/schema/apollo http://www.ctrip.com/schema/apollo.xsd" > <apollo:config /> <bean class ="com.ctrip.framework.apollo.spring.TestXmlBean" > <property name ="timeout" value ="${timeout:100}" /> <property name ="batch" value ="${batch:200}" /> </bean > </beans >
2.注入多个namespace的配置到Spring中
1 2 3 4 5 6 7 8 9 10 11 12 13 14 15 <?xml version="1.0" encoding="UTF-8" ?> <beans xmlns ="http://www.springframework.org/schema/beans" xmlns:xsi ="http://www.w3.org/2001/XMLSchema-instance" xmlns:apollo ="http://www.ctrip.com/schema/apollo" xsi:schemaLocation ="http://www.springframework.org/schema/beans http://www.springframework.org/schema/beans/spring-beans.xsd http://www.ctrip.com/schema/apollo http://www.ctrip.com/schema/apollo.xsd" > <apollo:config /> <apollo:config namespaces ="FX.apollo,FX.soa" /> <bean class ="com.ctrip.framework.apollo.spring.TestXmlBean" > <property name ="timeout" value ="${timeout:100}" /> <property name ="batch" value ="${batch:200}" /> </bean > </beans >
dubbo服务整合 1 2 3 4 5 6 7 8 9 10 11 12 <apollo:config /> <apollo:config namespaces ="dubbo" order ="1" /> <dubbo:application name ="${dubbo.application.name}" /> <dubbo:registry address ="${dubbo.registry.address}" /> <bean id ="xxxService" class ="com.xxx.cache.service.impl.RedisServiceImpl" /> <dubbo:service interface ="com.xxx.xxx.service.RedisService" ref ="redisService" version ="${dubbo.version}" />
dubbo 默认没有不需要配置,但使用apollo后没有自动注入dubbo注册地址,需要手动声明,原因待定
1 <dubbo:registry address="${dubbo.registry.address}"/>