Nacos部署

Nacos支持三种部署模式
- 单机模式 - 用于测试和单机试用。
- 集群模式 - 用于生产环境,确保高可用。
- 多集群模式 - 用于多数据中心场景。
注:本文已Linux CentOS7系统为讲述如何部署单机模式(standalone)和集群模式(cluster);(虚拟机使用VMware)
单机模式
下载Nocas
在github平台上下载自己所需版本的Nocos,如下图:
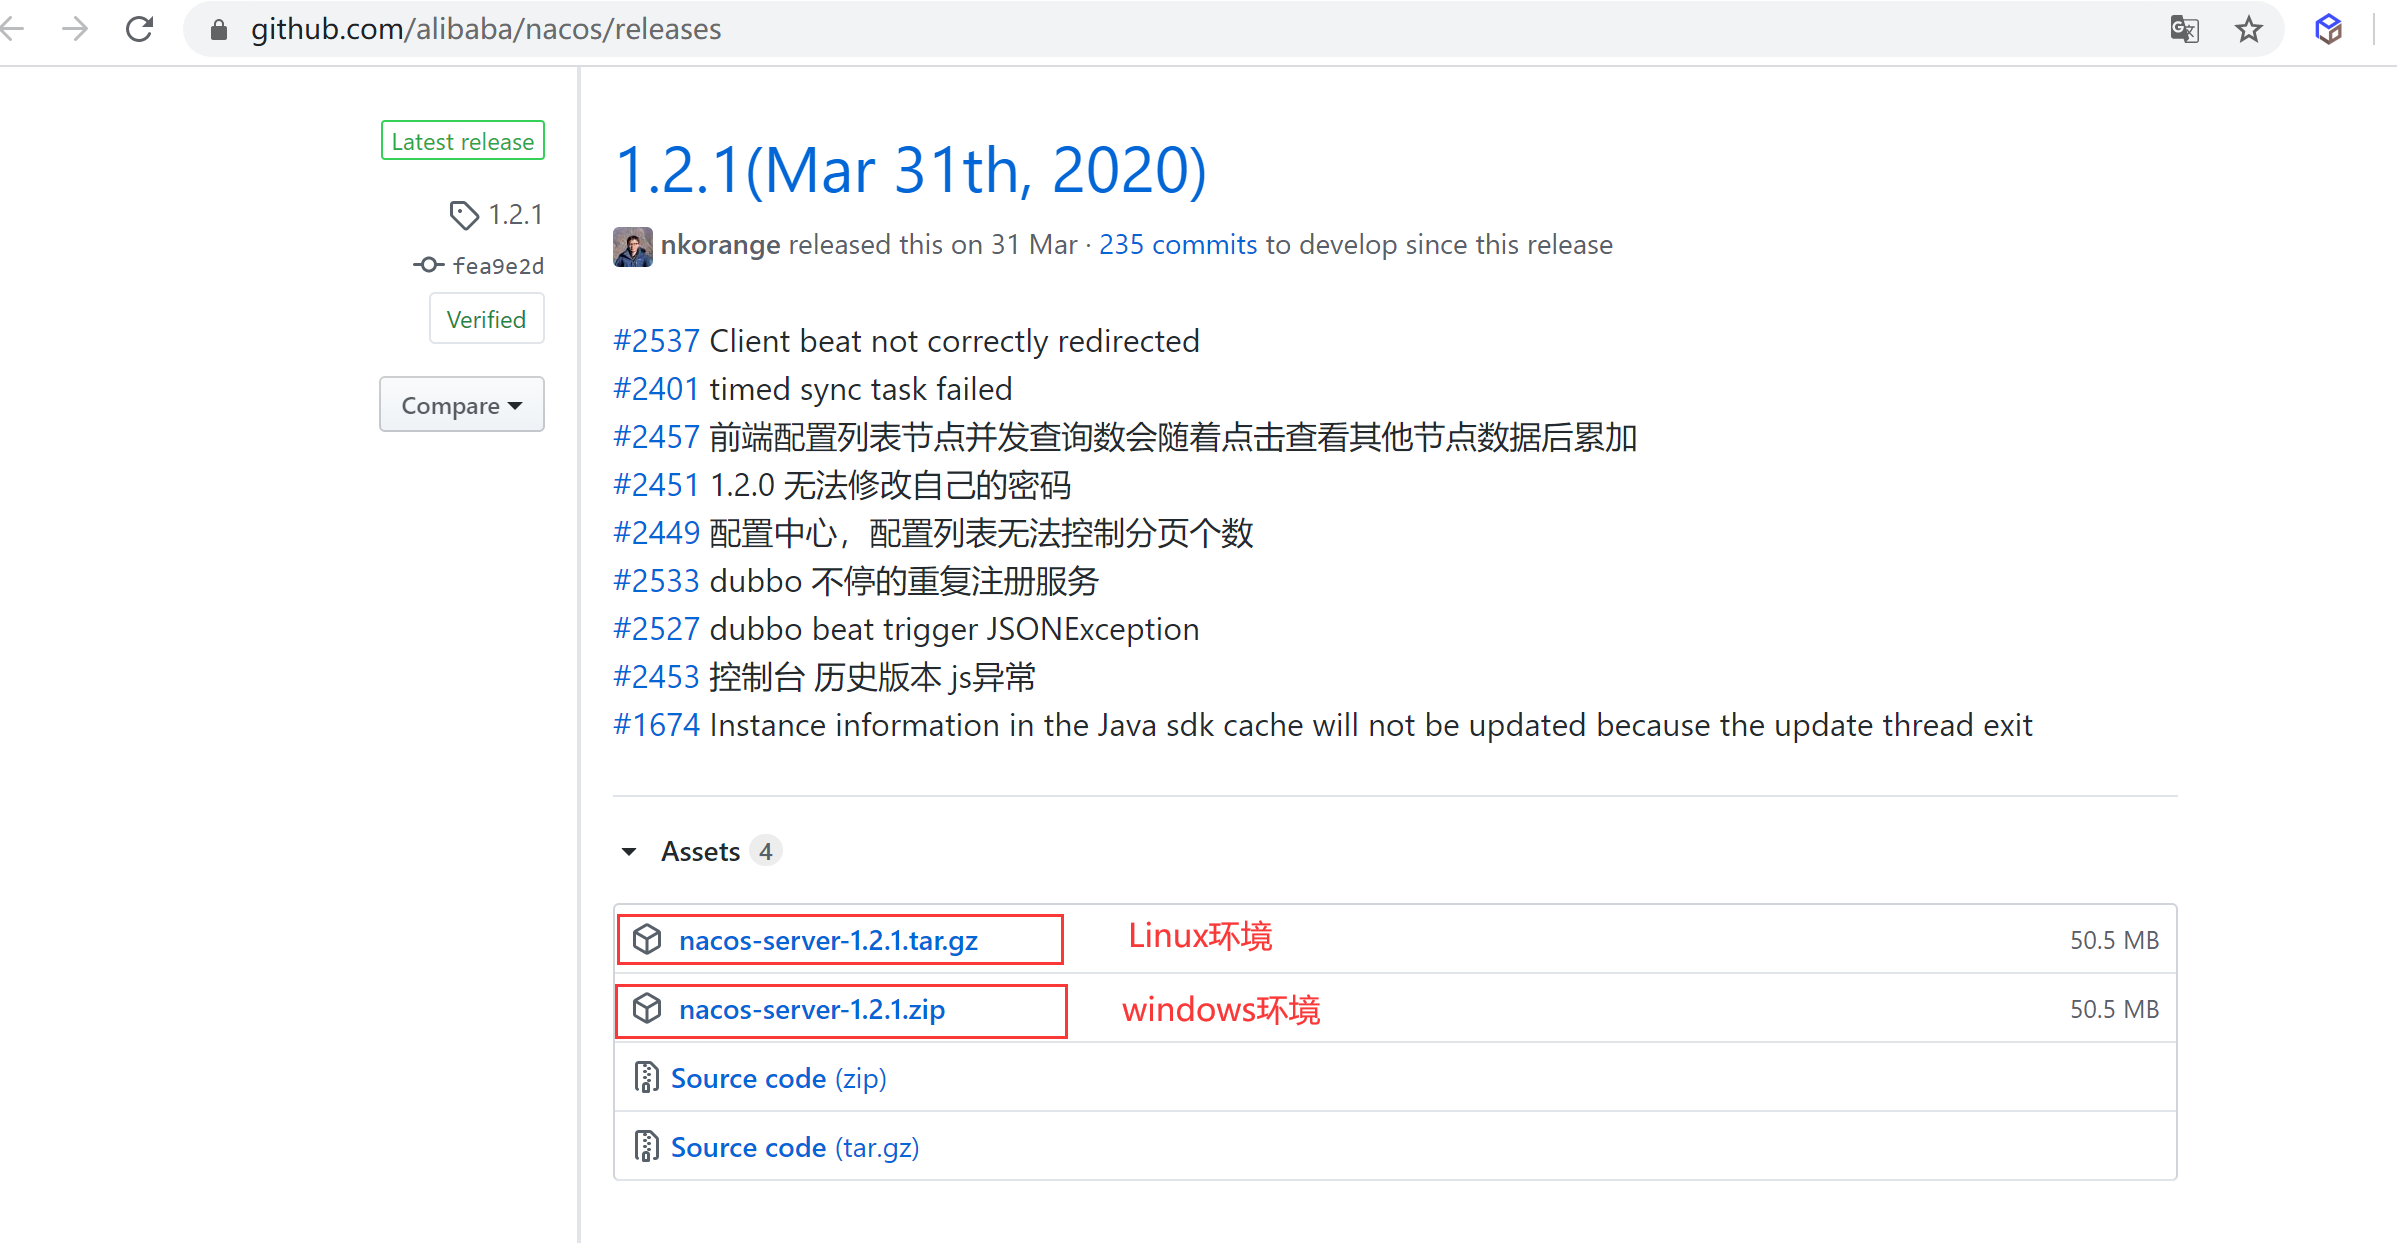
下载后,解压即可
Linux环境:下载nacos-server-1.2.1.tar.gz
window环境:下载nacos-server-1.2.1.zip
PS:如果是Linux环境,则tar -zxvf nacos-server-1.2.1.tar.gz解压即可。

配置Nacos
修改默认占用的端口
程序启动默认占用的端口是8848(珠穆朗玛峰的高度)
启动命令修改
我们可以对端口进行修改,用编辑器打开bin目录下的startup.cmd文件 添加一行代码
1 | set "JAVA_OPT=%JAVA_OPT% --server.port=9090 |

配置文件修改
还可以在conf文件下的application.properties中修改server.port来改变端口号
1 | server.port=9090 |
也可以在该文件下指定数据源,方法和springboot中配置一样(单机模式模式下默认连接的是javaDB),该文件夹下 nacos-logback.xml自然是修改nacos日志输出规则的。
启动Nacos
打开bin目录,执行startup命令。
linux环境
1 | 启动 |
windows环境
1 | 启动 |

启动成功
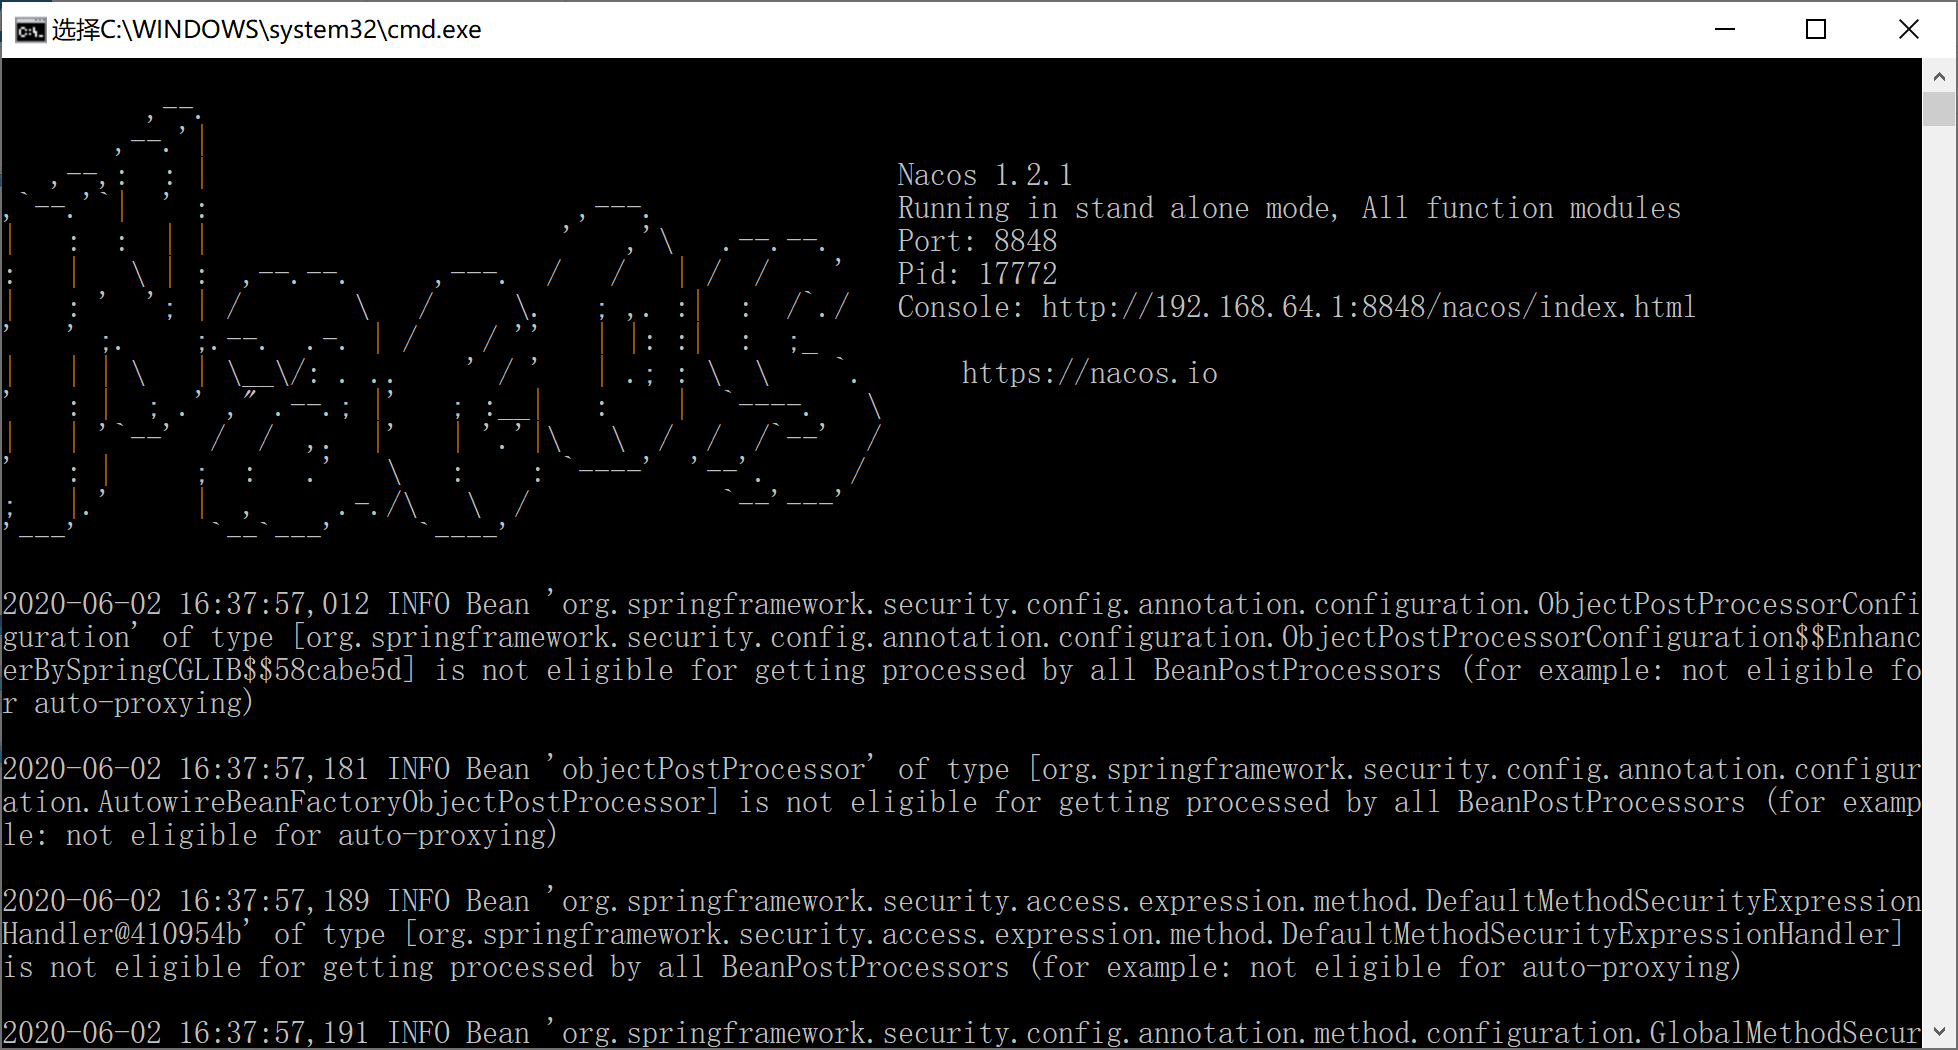
当执行startup.cmd成功后,则本地通过localhost:8848/nacos进行访问。账户密码默认:nacos/nacos。
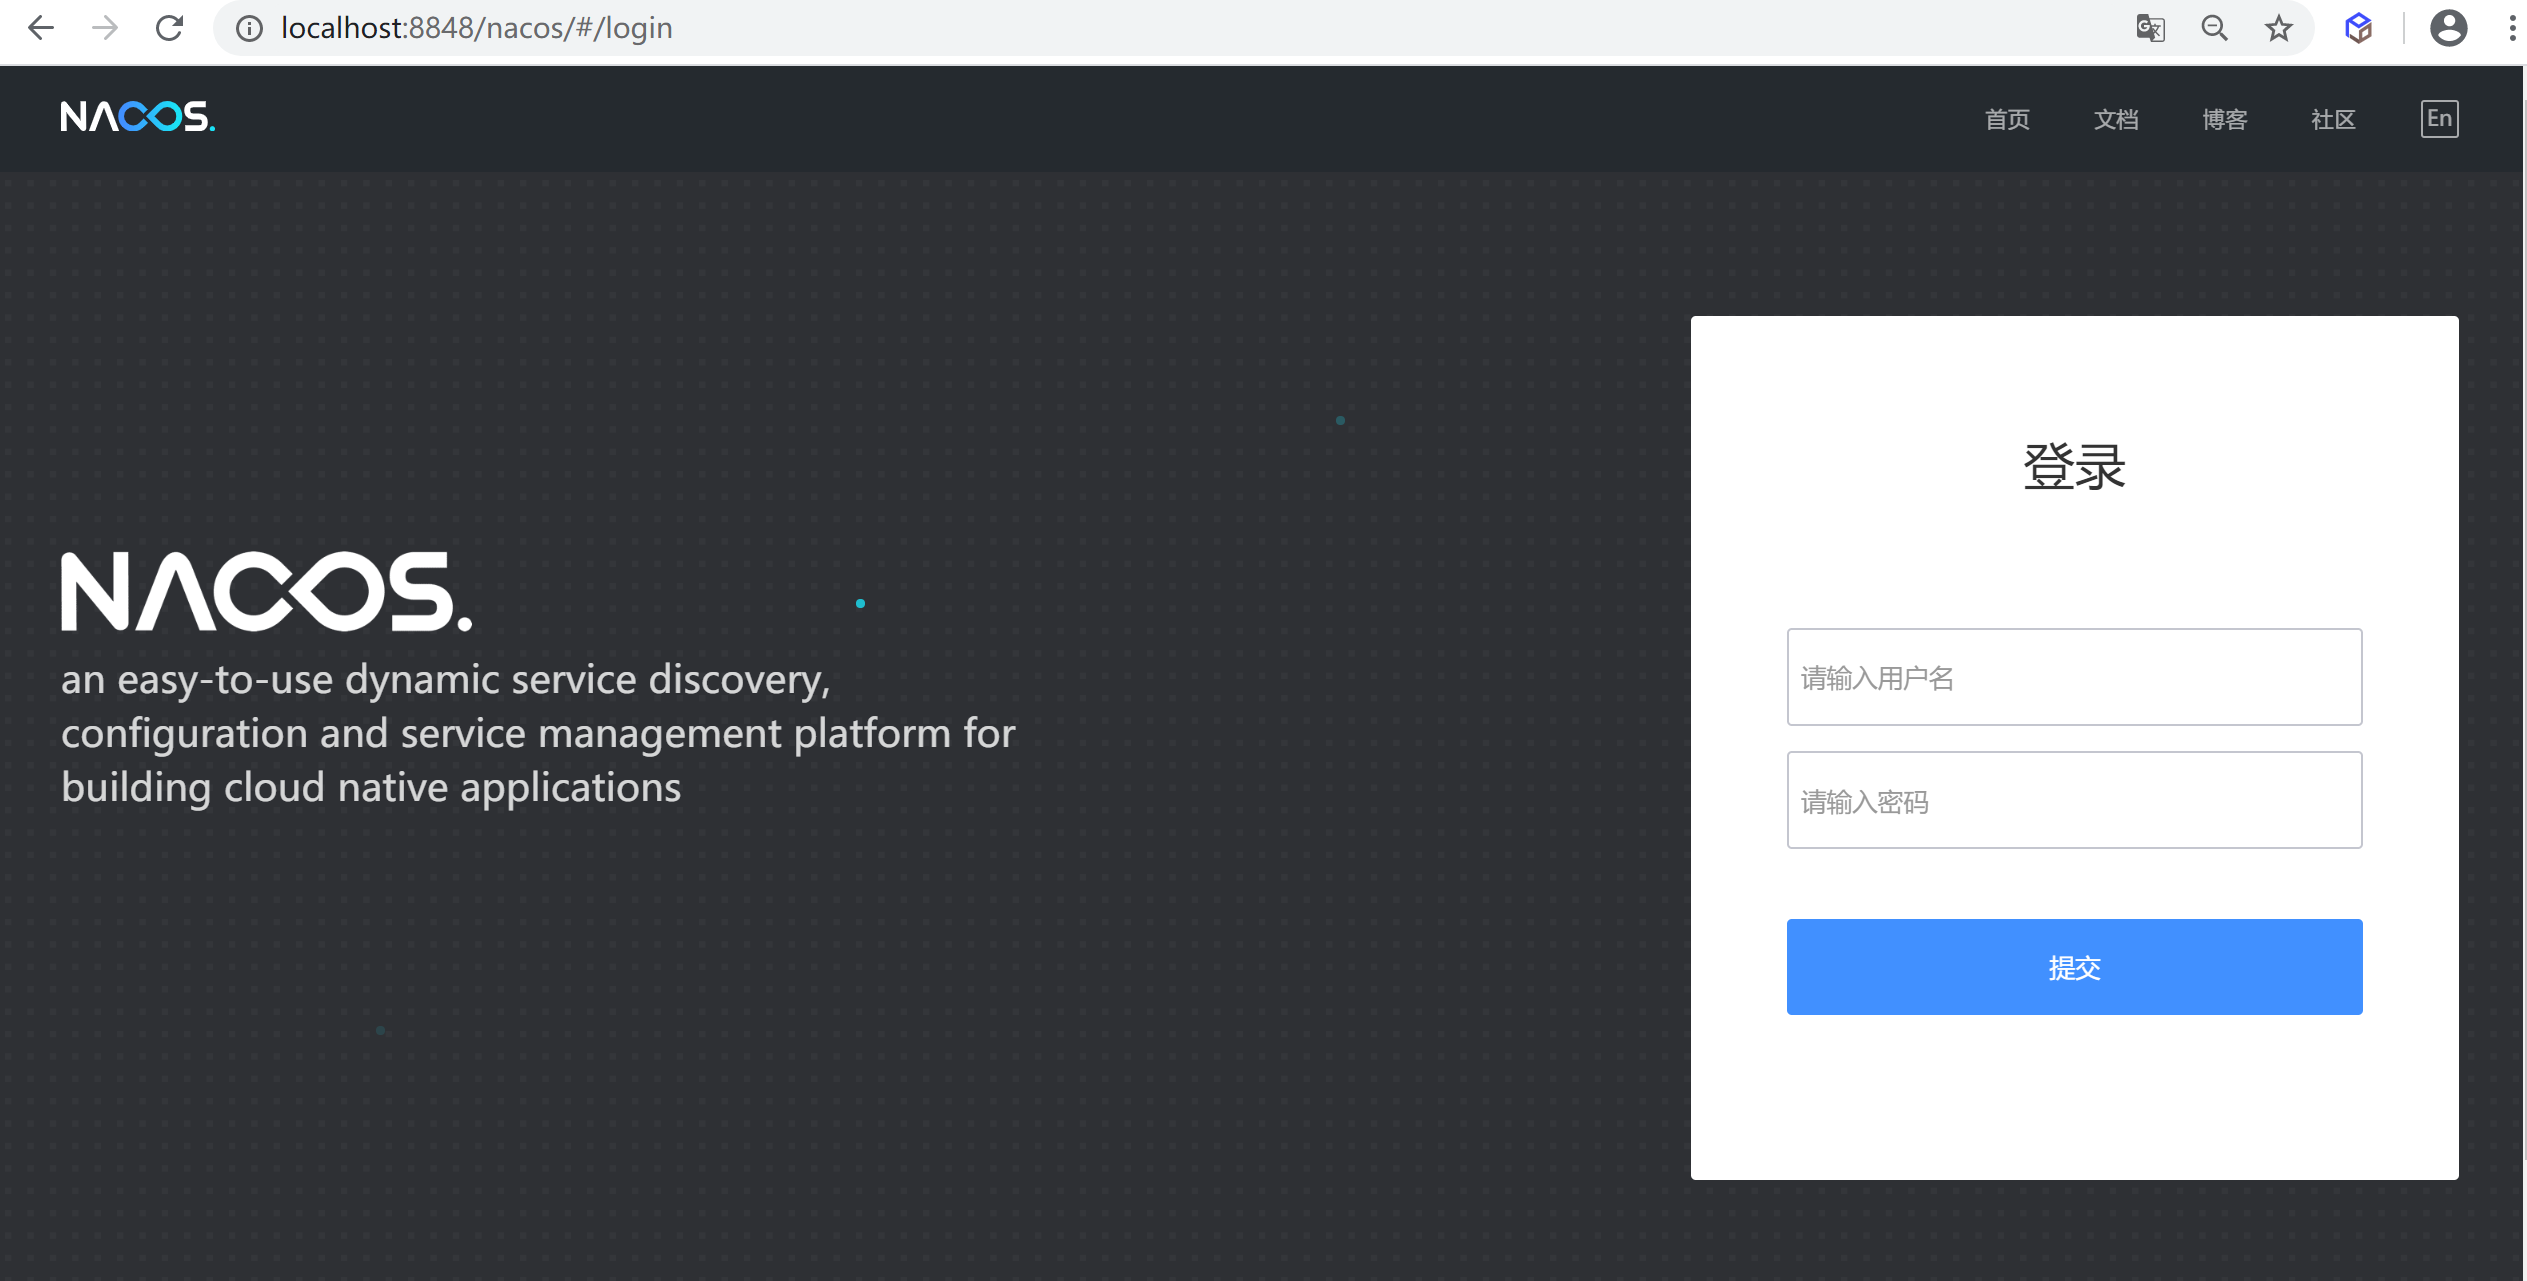
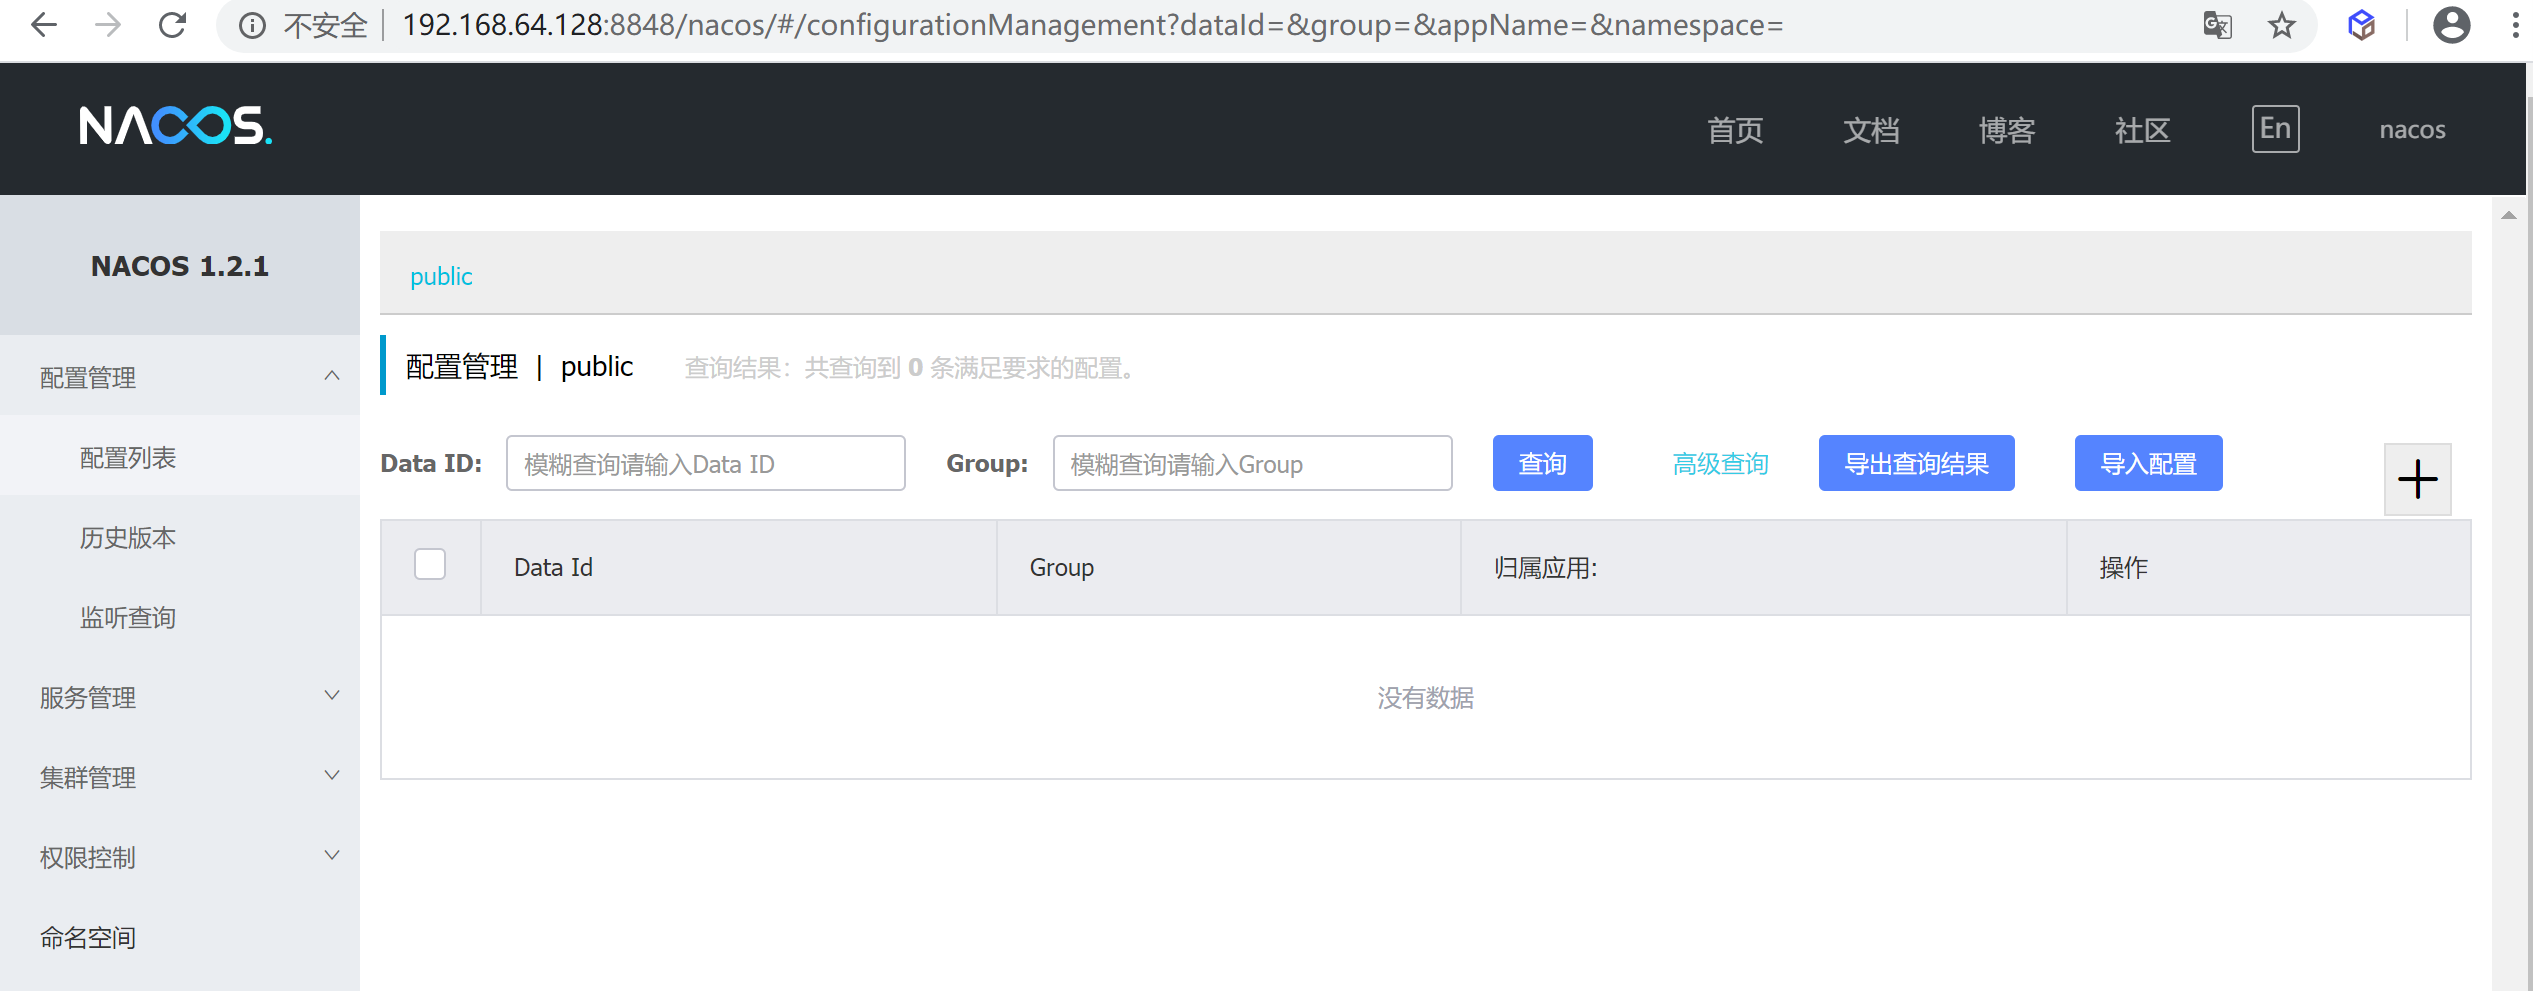
登陆后出现如下界面
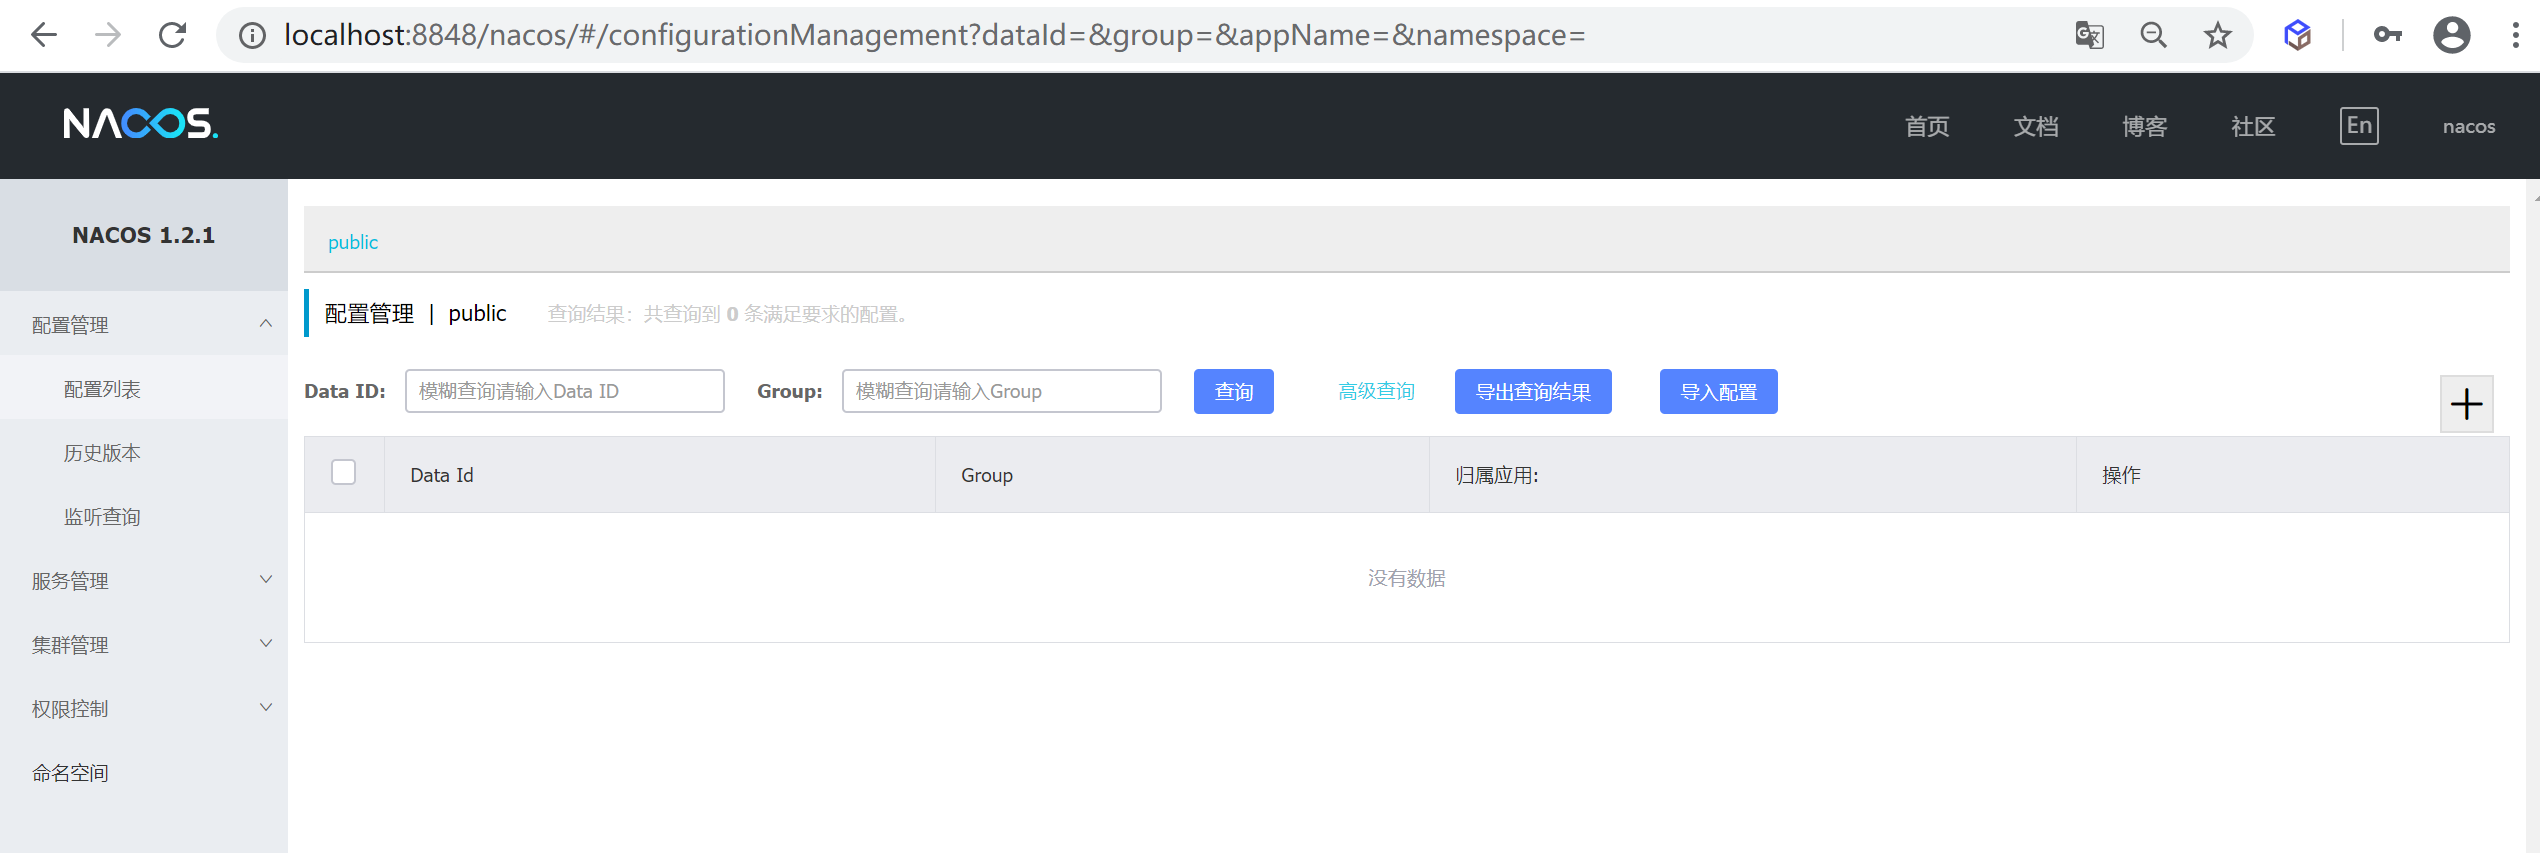
到此安装完成,linux也是一样的
支持mysql
在0.7版本之前,在单机模式时nacos使用嵌入式数据库实现数据的存储,不方便观察数据存储的基本情况。0.7版本增加了支持mysql数据源能力,具体的操作步骤:
- 1.安装数据库,版本要求:5.6.5+
- 2.初始化mysql数据库
- 3.修改conf/application.properties文件,增加支持mysql数据源配置(目前只支持mysql),添加mysql数据源的url、用户名和密码。
1 | #*************** Config Module Related Configurations ***************# |
注意
- 这个的application.properties指nacos的解压目录nacos/的conf目录下的application.properties文件
- 这里的db具体配置根据自身情况而变
再以单机模式启动nacos,nacos所有写嵌入式数据库的数据都写到了mysql
docker 部署
单机模式
拉取镜像
1 | docker pull nacos/nacos-server |
启动镜像
1 | docker run -d -p 8848:8848 --name nacos --env MODE=standalone nacos/nacos-server |
查看容器
检查容器是否启动
1 | docker ps |

访问测试
访问地址:http://192.168.64.128:8848/nacos
用户名:nacos 密码:nacos
配置mysql数据库
创建application.properties
在 /etc/nacos/conf 目录下创建application.properties
内容如下
1 | #*************** Spring Boot Related Configurations ***************# |
启动镜像
使用如下命令将本地的 application.properties挂载到nacos镜像的application.properties
1 | docker run -d -p 8848:8848 -v /etc/nacos/conf/application.properties:/home/nacos/conf/application.properties --name nacos --env MODE=standalone nacos/nacos-server |
查看容器
检查容器是否启动
1 | docker ps |
访问测试
访问地址:http://192.168.64.128:8848/nacos
用户名:nacos 密码:nacos
添加配置
添加一个配置检查是否同步到了 mysql服务
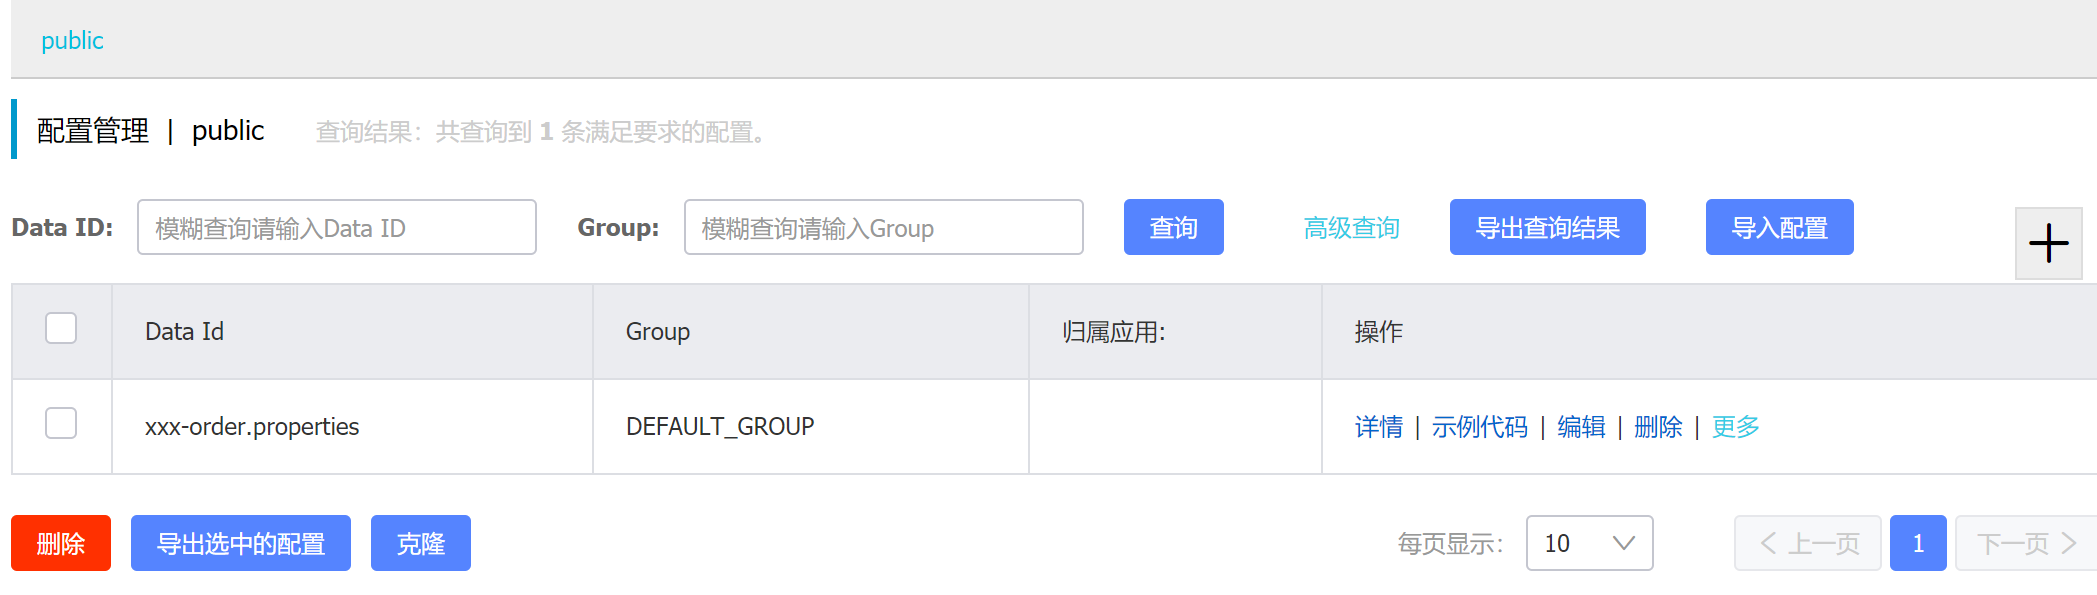
到mysql检查数据是否插入到了mysql

数据已经插入到了 mysql服务
Nacos集群部署
前面已经学习了Nacos的注册中心功能以及分布式配置中心的各个功能。在前一节我们知道了如何实现Nacos的数据持久化(其实在安装的时候就有涉及到)。前面为了方便演示和测试,使用的都是单机版,而没有实现集群搭建。但是在分布式架构中,微服务解决方案里,都是要满足三大特性:高并发,高性能,高可用。所以,单机版本的Nacos(注册中心&配置中心)已经不够满足实际场景了,所以本节来搭建一个Nacos集群。
集群部署架构图
nacos 官方推荐用户把所有服务列表放到一个vip下面,然后挂到一个域名下面
http://ip1:port/openAPI直连ip模式,机器挂则需要修改ip才可以使用。http://VIP:port/openAPI挂载VIP模式,直连vip即可,下面挂server真实ip,可读性不好。http://nacos.com:port/openAPI域名 + VIP模式,可读性好,而且换ip方便,推荐模式
官方推荐使用域名 + VIP模式的集群部署方案,所有我接下的演示都是基于此模式来实现的。

注意: 这里的VIP直接使用 Nginx就可以实现了
单机部署集群(伪集群)
我们准备已经下载好的Nacos压缩包,并解压,配置好mysql数据连接(可参考前一节)。
集群配置文件修改
在Nacos的conf 目录下有一个cluster.conf.example , 可以直接把.example 去掉使用,也可以单独创建一个cluster.conf文件,用于后续搭建集群的实例地址配置。
我们打开
cluster.conf, 删除默认配置,添加下述配置:
1 | #it is ip |
需要保证部署3个或3个以上节点,这样才能搭建成集群。注意ip不可填写127.0.0.1,必须是内网ip,否则在nacos.log中会报
1 | java.lang.IllegalStateException: unable to find local peer |
端口号修改
修改nacos的conf目录下
application.properties下的server.port,三个实例分别为:8848、8849、8850
1 | #*************** Spring Boot Related Configurations ***************# |
linux启动命令
修改完
cluster.conf之后,我们将bin/startup.sh复制三份,分别命名为:
1 | startup-8848.sh |
windows启动命令
windows下注意需要将
set MODE="standalone"改为set MODE="cluster"否则一直是单机模式
1 | rem set MODE="standalone" |
启动Nacos集群
初夏如下日志说明启动集群模式成功

然后选择其中一个端口进行登录,可以看到集群管理的节点列表中就有了节点信息,可以看到节点状态。如下图:192.168.64.1:8850 为leader节点,192.168.64.1:8848/8849 为Follower节点。

生产部署集群
生产环境部署集群,无非就是将不同的节点部署到不同的服务器上,这样不会因为一台服务器宕机而导致整个Nacos集群不可用。
集群配置文件修改
一般集群需要至少3个节点。我们先准备3台机器: 192.168.11.200、192.168.11.196、192.168.11.126
nacos 的默认服务端口是 8848 ,但是由于 我们的机器上还有其他nacos 服务正在作用,所以, 我们这里把端口改为 8748, 如下:
1 | 192.168.11.200:8748 |
端口号修改
如上面的方式修改
启动服务
启动三台服务器的服务
配置代理服务器
安装NGINX
配置NGINX
为NGINX添加如下配置(对于Linux操作系统,如在安装NGINX时未自定义目录,则可在
/etc/nginx/conf.d新建文件,命名为nacos.conf,内容如下;同时删除default.conf即可):
1 | upstream nacos { |
测试
访问
http://localhost/nacos可看到Nacos的登录页,登录后即可正常使用Nacos。
优化&最佳实践
实际项目中,建议为Nacos绑定一个域名(域名解析 & 修改NGINX配置的server_name),这样即使未来Nacos Server需要迁移,也无需修改Nacos Client端的配置;
连接Nacos集群
1 | nacos.discovery.server-addr= nginx绑定的域名:80 |